

Before you start
Before you start, you’ll need:
• A login to HubSpot with permissions to authorize apps
• A login to your chosen accounting platform, with permission to authorize apps
If you don’t have either of those – don’t worry! You can either invite a co-worker who does have access whilst getting set up, or just create a test account.
HubSpot has a free option that you can use to test the app with, and Xero and QuickBooks both offer free trials. When you want to go live, it’s easy to swap the accounts around for your live ones.
Step One: Registration
Step one is to create an login at Invoice Stack – you can do that by starting here. Just enter your name, email address and set up a password. You’ll need to agree to our Terms of Service before getting started.
Logins in Invoice Stack can access more than one Organisation - so if you ever need access to another Invoice Stack account you can use the same log in.
Important note: If you or a member of your team have ever had an Invoice Stack trial before - reach out to our team rather than starting a new trial. They will be happy to help you get connected to the old account, extend or start new trial. Creating multiple trials is the most common way of getting stuck during installation - this is because you can only connect an accounting platform or HubSpot to one Invoice Stack at a time.
Next you'll be prompted to start a new 21-day trial of Invoice Stack by entering a Company name and country. The 21-day trial includes full access to Invoice Stack Pro plus our Revenue Reports addon. If you need access to Enterprise features then just reach out to the team.
Once you’ve created an account, we’ll send you a few emails to help you get the most out of Invoice Stack, as well as to let you know when your trial is ending. If you don’t want these, you can unsubscribe with a single click.
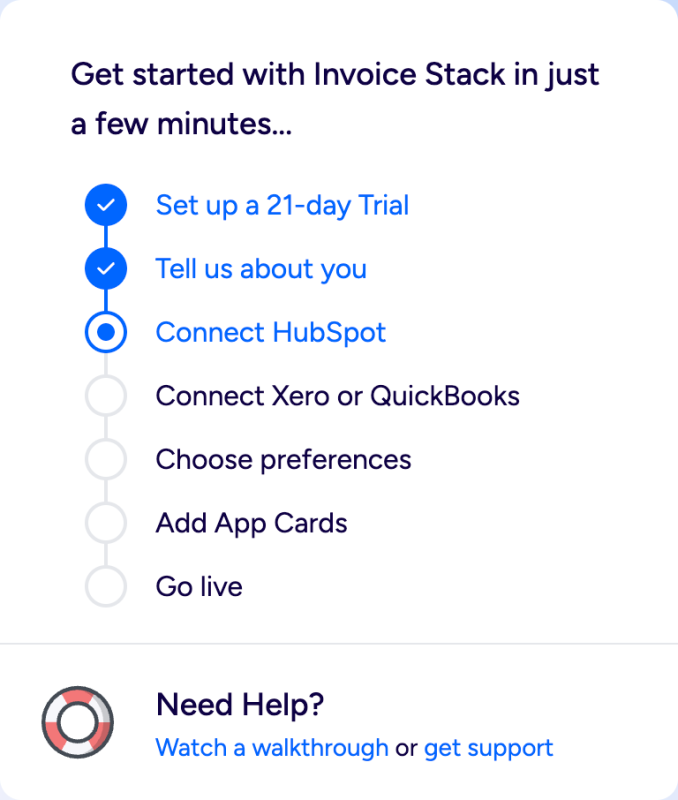
Step Two: Connect your HubSpot account
Simply press the “Connect to HubSpot” button and you will be taken to HubSpot, first you’ll be asked to login, and then you’ll see a screen asking you to confirm that you want to grant Invoice Stack access to your HubSpot account. You’ll need to be a Super Admin or have the App Marketplace access permission.
If you don't have access - you'll see a link to invite a colleague to help you with set up. They will have their own login to the account and can use their HubSpot login to connect up the app.
This gives Invoice Stack the ability to display alongside your deals, as well as access information about your deals, such as the contact, line items and quotes. We’ll also create a set of “Invoicing” properties on your deals, to store data when your invoices sync.
As a Certified by HubSpot app, our access to your account has been vetted by the HubSpot certification team. See our security section for more info on permissions.
We won't sync any data without you taking an action, the only thing that will happen when you connect HubSpot is we will create empty properties to sync data to.
Step Three: Connect your Accounting Platform
Next you need to link your accounting platform, this gives Invoice Stack the permission to load your settings and contacts inside the app, create invoices, and to receive updates about invoices and payments. When you connect your accounting platform, no changes are ever made without you taking an action inside the app, such as creating an invoice.
Just like before, you’ll need to select the Connect button on your preferred accounting platform, and after logging in you’ll see a screen asking you to confirm you’d like to grant Invoice Stack access.
If you don't have access - you'll see a link to invite a colleague to help you with set up. They will have their own login to the account and can use their Xero or QuickBooks login to connect up the app.
We do support linking multiple accounting platforms, for example if you are a multi-national and have different installations per country. This is available on our enterprise plan, if you’d like to get a demo or talk more about it – just get in touch with us.
Step Four: Set your preferences
Next, tell us a little about how you're creating invoices - this helps us tailor the app settings to your needs. If you're not sure about any of these settings, don't worry you can always change things later, or review during an onboarding call with the team.
Below are some links with more detail on each of the settings:
- How will you send invoices? How to Send Invoices with Invoice Stack
- Choose your permissions Users and Permissions in Invoice Stack
- (Xero only) Use Products? Using Products to save time Invoicing on HubSpot
- Who are your customers? Mapping Contact Data from HubSpot
- Set Invoice fields How to sync your HubSpot data to Xero
Step Five: Add the App Card
You may be familiar with this process from other apps, but in order to create Invoices, users will need access to the Invoice Stack: Create Invoices App Card. You can also enable the Revenue Reports App Cards at this stage too.
Once you follow the steps you will be able to view the card on your Deal sidebar. For more detailed information about managing app cards - see this article:
Onboarding Complete
Once you've returned to the dashboard and completed onboarding you'll be ready to create invoices. On your dashboard you'll see next steps, links to detailed preferences and access to connect or disconnect your HubSpot or Accounting connections.
Finally - the next step is to head to a deal and create your first invoices - take a look here for more info: